Bow making for beginners

Bow making has become more than just a hobby, many are making it a part or full time job and we know exactly why! Bow making will enable you to be creative and see fast results. A bow can be created in as little as a few minutes, there are never ending designs and they also make lovely gifts!
So if you're thinking of starting your own little business or you are looking for a new hobby then read on!...
Bows can be created using templates made out of card or plastic and then cut by hand or alternatively they can be cut using various machines. We'll list our preferences below.
Equipment & Supplies
- Templates for hand cut bows (plastic or card)
Crafty Bear templates are available individually or try out our starter kits.
- Die cutting machine for cutting via a machine method
We love the Sizzix big shot plus, it's super easy to use and lasts forever! These can be purchased from many online retailers such as Hobbycraft, we recommend buying the starter kit.
Dies for your machine, Sizzix have created a couple of bow dies, we prefer 'Bigz" dies rather than 'Thinlets' dies, they are easier to use and last a lot longer.
You can also create pretty snap clips using the Crafty Bear snap clip die.

- Glue gun and glue sticks, there are lots of designs about, but we prefer to use a mini glue gun with 7mm glue sticks, this is because the nozzle is smaller to get into fiddly areas.
- Embellishments
Crafty Bear offers lots of different embellishments from sparkly gemstones to resin flowers. These look beautiful glued onto the centre piece of a bow.
- Fastenings; Clips, bobbles and headbands.
Crafty Bear has a huge range of elastic bobbles, nylon bobbles, Alice bands and clips so there's an option for all occasions! We recommend the 45mm alligator teeth clips for bows measuring 3 inches and above.
- Fabric scissors, again lots of designs about. We like 'Tonic' fabric scissors.
Fabrics
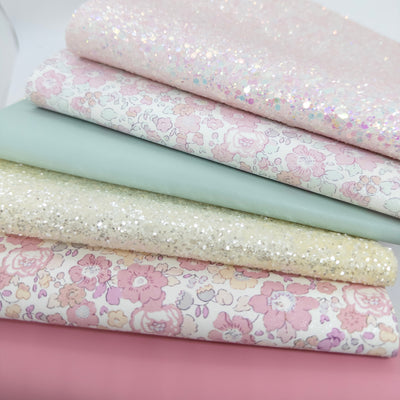
 Fabrics; this is the really fun part! All of our fabrics are suitable for bow making, we have a huge selection of faux leathers and glitter fabrics.
When creating double bows (bows with two layers) it's nice to mix the two fabrics together. We love fabrics that compliment each other, for example a pink chunky glitter and a pink leatherette.
Fabrics come in different thicknesses, the thickest being the chunky glitter and the thinnest being the fine glitter. If you are hand cutting, you will need a good pair of fabric scissors to cut through the chunky glitter fabrics.
Time to get making!
 If you are cutting by hand then simply place your templates on the reverse side of your fabric and cut out the shapes.
If you are cutting via a die cutting machine, then follow the step-by-step instructions provided with your machine.
Top tip: When hand cutting, place your templates close together to maximise the use of the fabric.
When cutting via a machine we recommend cutting out sections of fabric and placing it on top the individual sections of the die instead of placing the whole sheet of fabric through the machine, this will minimise fabric waste.
Once you have cut out your bow pieces, firstly fold the top part of the bow so that the two ends meet in the middle and glue together.
Take the tails part of the bow and glue on to the reverse side of the top part of the bow.
Take your clip or bobble and glue it to the reverse of the bow tails in the centre.
 Take the centre strip of the bow, wrap it around the bow from front to back (if you are using a clip make sure the clip is open when gluing the strip in place else you will glue your clip closed!)
When gluing each section, hold the parts in place for a about 5-10 seconds to make sure they are properly stuck down.
Finally, add any extra details to your bow such as embellishments and tulle.
You should now have your very first hair bow!
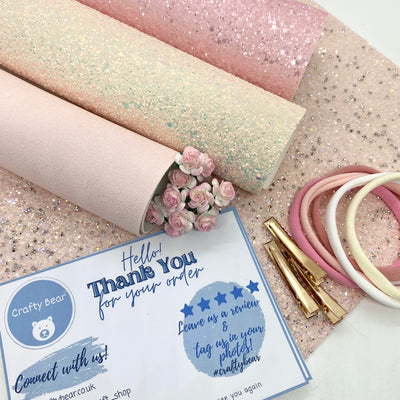
Finishing touches
Crafty Bear have exclusive bow display cards in various colours and sizes, these are great for making your bows look presentable when sending to a friend or customer.
We also have lots of pretty stickers which can be stuck onto the bow card for a final finishing touch!
If you are posting bows then we recommend using mailing boxes, these can be purchased from Amazon and eBay in a variety of sizes. Line your box with tissue paper to make it a nicer experience when opening.